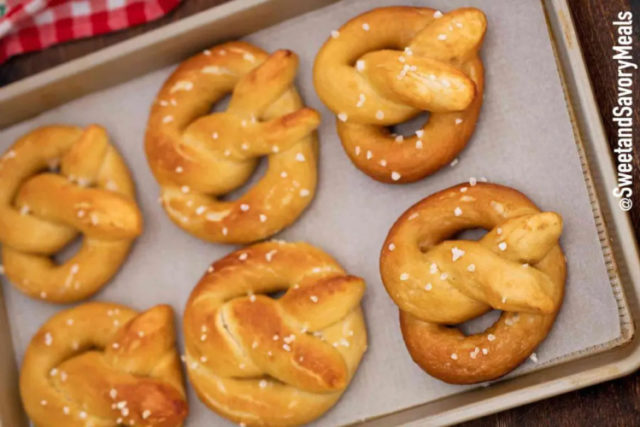
Baked Soft Pretzels have a soft spot in my heart. Whenever we go to the mall, their fresh-baked smell will draw me to the nearest stand. There’s nothing as delicious as biting into a hot, super soft pretzel dusted with cinnamon sugar or with chunky salt crystals.
Sometimes I’d treat myself to a cheesy or chocolate dip. It’s a comforting and yummy snack that even my own family has come to love.
Naturally, I wanted to try my hand at baking one of my all-time favorite treats. Imagine my delight when I discovered how easy it was! They’re also so much better than anything you can buy at the mall!
What are soft pretzels?
They are a type of bread with a distinct, chewy texture. Not to be confused with the much harder, crunchier snack pretzels, though they do have similar flavors.
Legend says that Italian or French monks were the first to make pretzels. Every time the friendly monks had leftovers from making unleavened bread during Lent, they’d shape it into twists for neighboring children. Since then, it became a popular snack symbolizing good fortune throughout Europe.
Good thing we got lucky too! When German immigrants arrived in Pennsylvania, they brought the bread recipe with them. It’s now an extremely popular American treat, commonly sold in malls, stadiums, and stands throughout the country.
How do you make baked soft pretzels?
- Form the dough. Proof yeast, then whisk in sugars, cooled melted butter, and salt. Add one cup of flour at a time, slowly, until you have a dough that holds together. Add more just until it no longer sticks. Knead, then rest.
- Shape. Divide into pieces about 1/3 cup each. Form into knots.
- Dip in boiling baking soda bath. Dip each piece for 20-30 seconds and no longer. Remove and let excess moisture drip.
- Bake. Space out the pretzels on your sheet. Then sprinkle with flaky salt, and bake at 400F for about 12-15 mins until fluffy and beautifully golden.
How do you shape homemade soft pretzels?
Here’s how to do a classic knot. By this stage, you should have divided the dough into small pieces already. Begin by rolling one into a 20-inch rope, then fold into a U. Next, overlap the ends. Cross them again over each other. Lift ends and press firmly to the rounded part of the U.
Remember, no need to make perfect shapes! Form it into letters, stick shapes, bites, twists, and hearts if you want, and just have fun with it.
Disclaimer
The information contained in South Florida Reporter is for general information purposes only.
The South Florida Reporter assumes no responsibility for errors or omissions in the contents of the Service.
In no event shall the South Florida Reporter be liable for any special, direct, indirect, consequential, or incidental damages or any damages whatsoever, whether in an action of contract, negligence or other tort, arising out of or in connection with the use of the Service or the contents of the Service.
The Company reserves the right to make additions, deletions, or modifications to the contents of the Service at any time without prior notice.
The Company does not warrant that the Service is free of viruses or other harmful components


